
Please note that the instructions below are for Mac users using Pages. If you are having problems feel free to contact me. If you use a PC and wish to create a magnet, you will need to adapt the process accordingly using your own choice of software but please note I am unable to provide any support for you.
This is the process I follow to make custom magnets such as a race bib magnet for live races I have run or Virtual Rewards earned on iFit. Feel free to follow and make your own!
You will need
- A printed race bib image
- A pair of strong but thin scissors or a craft guillotine
- A self-adhesive magnetic sheet – use these.
- A self-adhesive laminating sheet – I use these
Overview
I have found this process the best to achieve consistent results.
Use the steps below to make your magnet. The instructions are largely the same for all types of magnets. Where there is a variation, this is noted.
Step 1
Acquire the magnet image. For race bibs I am going to use the one for the Commit to Fit 5K for virtual rewards the Shamrock Shuffle and Boston 3K. The bibs and virtual rewards are typically available from the iFit blog post for a particular race. For example, the Commit to Fit 5K post contains a link to download and print your bib. Or you may receive an email containing the link. From this link if you move the pointer to the bottom of the window, you will see the option to download the page (the down arrow):

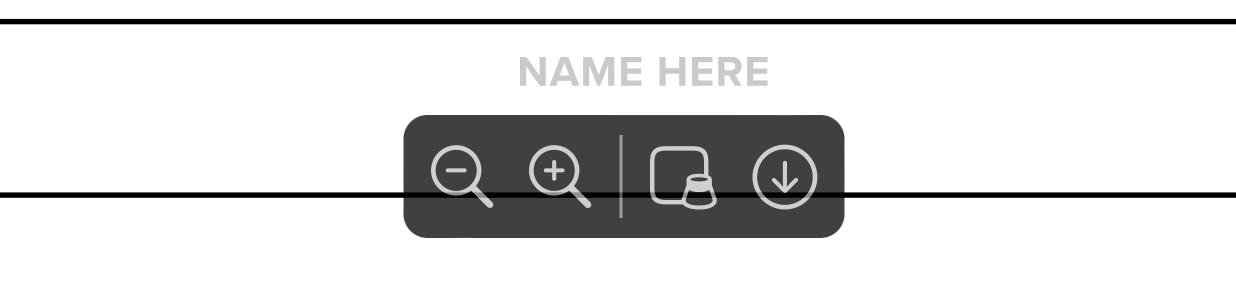
Hover over this and click the down arrow. This will save the page as a PDF file to your Downloads folder. The files are generally named along the lines of <race name>_bib.pdf :


However this may not be the case for virtual rewards so it may be worth naming the download something you will recognise when you look for it in the next step!
Step 2
Double-click the downloaded file to open in Preview. Under the Tools menu, select Rectangular Selection. Then draw a rectangle close to the border of the bib. Use the resizing points to get the selection as close to the border of the bib as you can. A bit of white space is fine. Copy the selection to the clipboard.


For some virtual rewards like the Shamrock Shuffle, there is only one image in the file so under the Edit menu choose Select All and copy to the clipboard.
Step 3
Open the Pages template file and paste the contents of the clipboard. You should now see a large image of what we want on the magnet. Ensure the image is selected and then under the View menu, select Show Arrange Tools. In the pop-up palette set Object Placement to ‘Stay on Page’ and Text Wrap to ‘None’. Ensure that Constrain proportions is checked.


Step 4
Wth the image still selected, you are going to create a mask of the relevant shape.
Under the Tools menu, navigate to Image : Mask With Shape and then the shape you need.
- For Challenge magnets select Polygon (at the bottom of the list)
- For others select Rounded Rectangle.

Step 5a – Rounded Rectangles
The following describes the process for Rounded Rectangle Masks. For Hexagonal Masks see Step 5b.
The image will show a highlighted square that is selected, with the rest of the image faded slightly. There will be a small black bar with a slider below the image. To the left end of the bar are two icons. Select the second icon the looks like the crop tool. When hovering over the correct icon the message ‘Click to select the image mask’ will be displayed.

Using the previously found Arrange Tools palette, resize the image mask to be 7.62 cm by 5.89 cm. The important thing to to try to be as consistent with sizing so that the magnets fit together which is why this method yields the best results.
Once the mask is resized the highlighted area will have grown. It is still anchored to its original position at the top left but that’s fine.

On the black slider bar, select the left-most icon to highlight the image itself. Using the longest side (in this case the top and bottom, drag the resize points so that the image is the same height (or width) as the mask.


Click Done.
You now have a correctly sized image to print!

Step 5b – Hexagonals
The following describes the process for Hexagonal Masks
The image will show a highlighted pentagon that is selected, with the rest of the image faded slightly. Obviously we don’t want a pentagon, we want a hexagon! Look carefully at the pentagon. There is a green dot somewhere near the edge of the shape. It may be difficult to see at first but it is there!. Move the pointer over the green dot and it will change from a hand to a black cross. Click and hold. A little pop-up will appear on the screen next to the pointer saying ‘Sides: 5’.

Whilst continuing to hold, rag the pointer down. The mask will soon change to a hexagon and the pop up will say ‘Sides: 6’. Release the pointer as this is the shape we want.

Obviously if you want more sides, carry on dragging!
There will be a small black bar with a slider below the image. To the left end of the bar are two icons. Select the second icon the looks like the crop tool. When hovering over the correct icon the message ‘Click to select the image mask’ will be displayed.
Using the previously found Arrange Tools palette, resize the image mask to be 5.1 cm width by 5.87 cm height. The important thing to to try to be as consistent with sizing so that the magnets fit together which is why the method is best. Once the mask is resized the highlighted area will have grown. It is still anchored to its original position at the top left but that’s fine.

On the black slider bar, select the left-most icon to highlight the image itself. Resposition the image so that the top point of the hexagon alignes with the top point of the mask. Then drag the resize points so that the image is the same height (or width) as the mask. The mask should align completely with the hexagon on the image.

Click Done.
You now have a correctly sized image to print!

Step 6
Print the Pages page containing the resized image.
Step 7
Cut around the printout leaving a margin of at least 5 mm. If the margin is much bigger than 5 mm on your cutout, you will just be wasting magnetic material in the next couple of steps, but you must have some margin. Around 5 – 10 mm is ideal.

Step 8
Stick the printout onto the magnetic sheet. Take care as these are very sticky and you will need to print another one if it goes wrong! Once stuck on, cut the magnetic sheet around the border of the image.

Step 9
Carefully remove the backing sheet from the self laminating film. Place the film on top of the print ensuring that there are no air bubbles – apply from one side, working towards the the next.

Cut the laminated sheet around the border of the image.
Step 10
Remove the border by cutting along the edge of the image. You now have a magnet!

